Google Adsenseをレスポンシブ広告ユニットにする
ブログのカスタマイズ楽しいですね!記事の更新が少ない割にカスタマイズばっかりしてますw
今回はブログのリニューアルをした時に実装していたGoogle Adsenseのレスポンシブ広告ユニットをサイドバーの方にも実装しました。
今更ながら次回以降に設定するときの備忘録としてメモしておきます。
※本ページは広告・アフィリエイトプログラムにより収益を得ています。
- 目次で流し読みする ・*・:≡( ε:)
実装方法
Adsenseホームにアクセスし、「広告の設定」をクリックします。
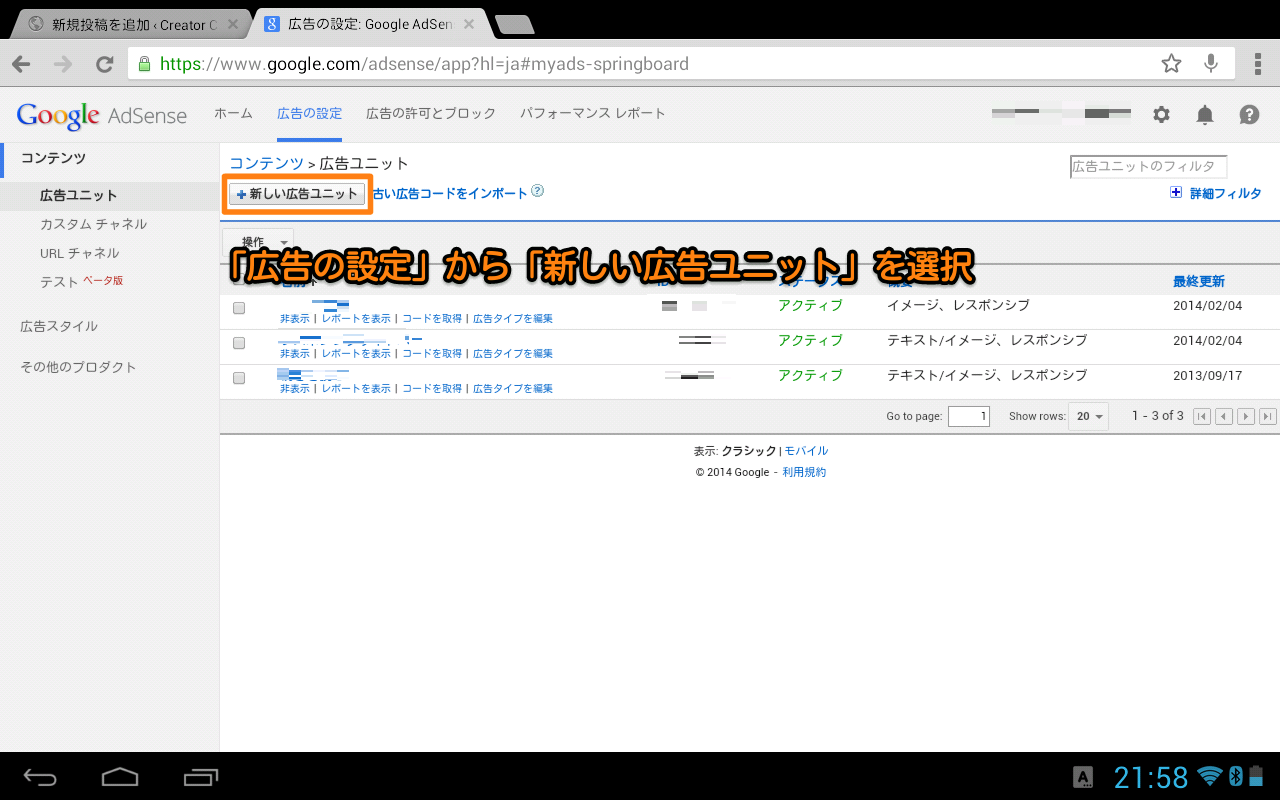
「+新しい広告ユニット」を選択します。
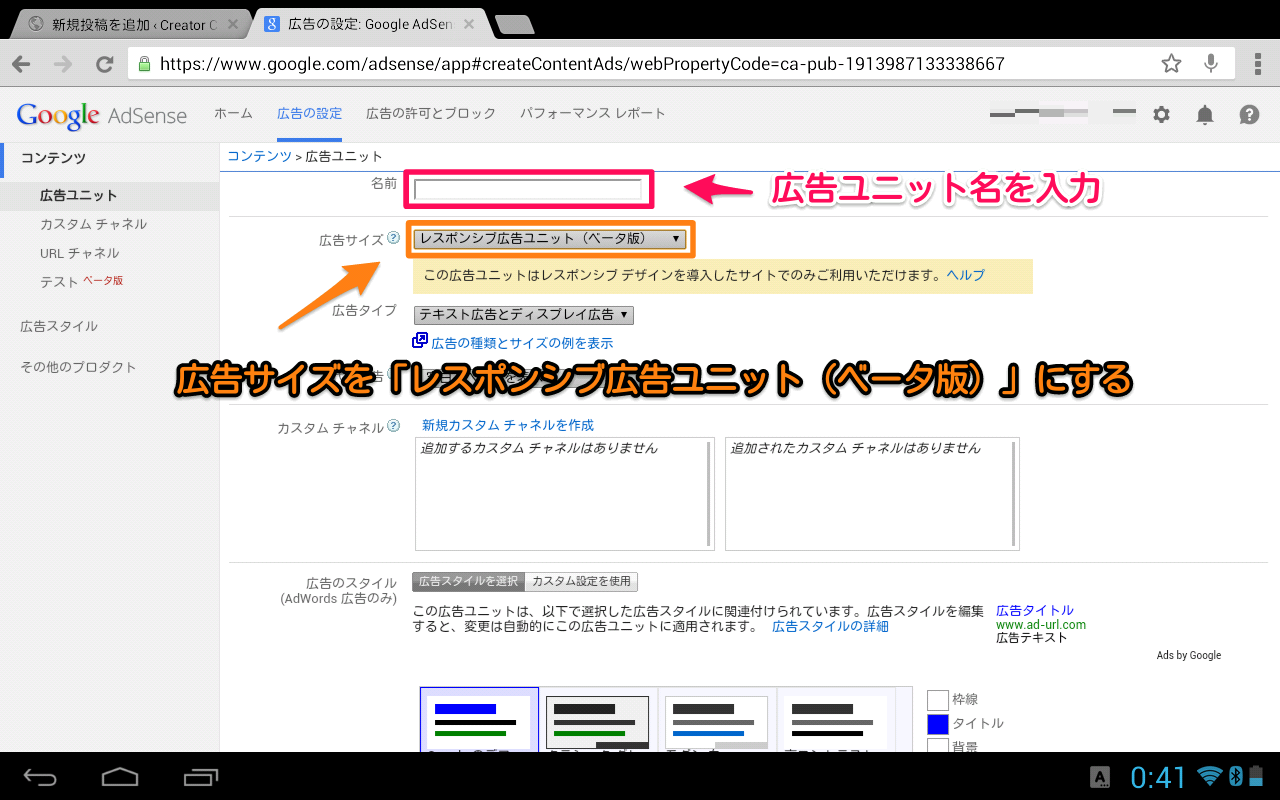
広告サイズを「その他 – レスポンシブ」の「レスポンシブ広告ユニット(ベータ版)」に変更し、下にある「保存してコードを取得≫」を選択します。

出てきた広告コードを表示する場所に貼り付けて終了です。モードはコード改変の必要がない「スマートサイズ(推奨)」を選択しました。
CSSでレイアウトを調整
そのまま貼り付けるとバナーのサイズが大きすぎたので、CSSで余白やコンテンツ幅などの調整を行いました。
レイアウト調整がしやすいように親要素に<div>タグで括っています。
<div id="adsense">
<script async src="//pagead2.googlesyndication.com/pagead/js/adsbygoogle.js"></script>
<!-- レスポンシブAdsense1 -->
<ins class="adsbygoogle"
     style="display:block"
     data-ad-client="ca-pub-xxxxxxxxxxxxxxxx"
     data-ad-slot="xxxxxxxxxx"
     data-ad-format="auto"></ins>
<script>
(adsbygoogle = window.adsbygoogle || []).push({});
</script>
</div><!-- / #adsense -->
<div id="sidebar">
<div id="ad">
<script async src="//pagead2.googlesyndication.com/pagead/js/adsbygoogle.js"></script>
<!-- サイドバーレスポンシブAdsense2 -->
<ins class="adsbygoogle"
     style="display:block"
     data-ad-client="ca-pub-xxxxxxxxxxxxxxxx"
     data-ad-slot="xxxxxxxxxx"
     data-ad-format="auto"></ins>
<script>
(adsbygoogle = window.adsbygoogle || []).push({});
</script>
</div><!-- / #ad -->
〜省略〜
</div><!-- / #sidebar -->
続いてCSSでレイアウトの調整を行っていきます。
あまりいじりすぎるとポリシー違反で広告配信停止されそうなので、余白とかのみの調整だけ行っています。
/* 全体の幅指定 */
header, #adsense, #contents, #breadcrumbList ul, #pageTop, footer {
	width:92%;
	max-width:960px;
	margin:0 auto;
}

/* サイドバーAdsense */
#sidebar #ad {
	margin:0 auto 20px;
	padding:20px 10px;
	background:#fff;
	border:1px solid #ccc;
}
実装するとこのような表示に
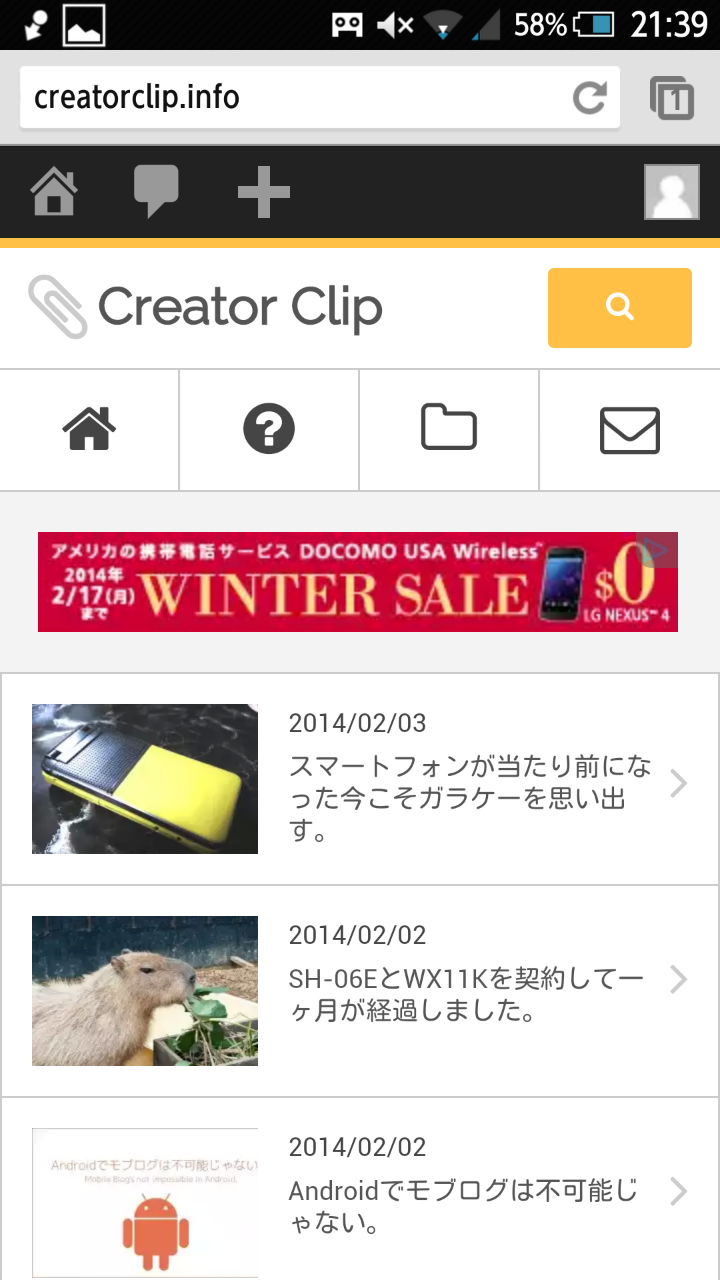
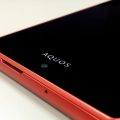
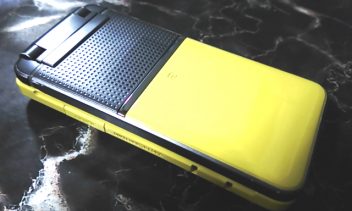
実際にスマートフォンやタブレットで表示してみました。
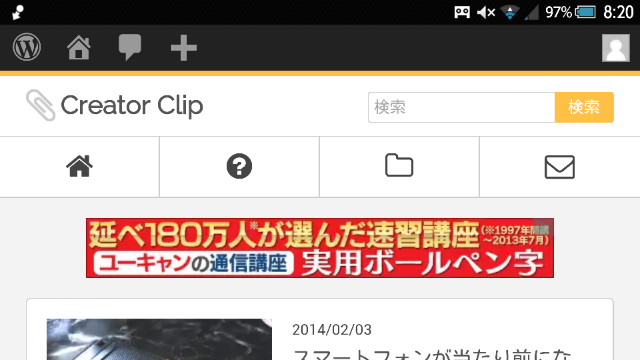
PCからウィンドウサイズを変更しても再読み込みするまではバナーは変わらなかったのですが、Androidのスマートフォンやタブレットからでは画面を回転させると広告の大きさも変化しました。
以上Google Adsenseのレスポンシブ広告ユニットの実装方法でした。